Tips & Tricks | Elsie Robinson
Happy Friday everyone! For today's Tips & Tricks post, I'm going to talk about some fun ways you can create dimension on your layouts!
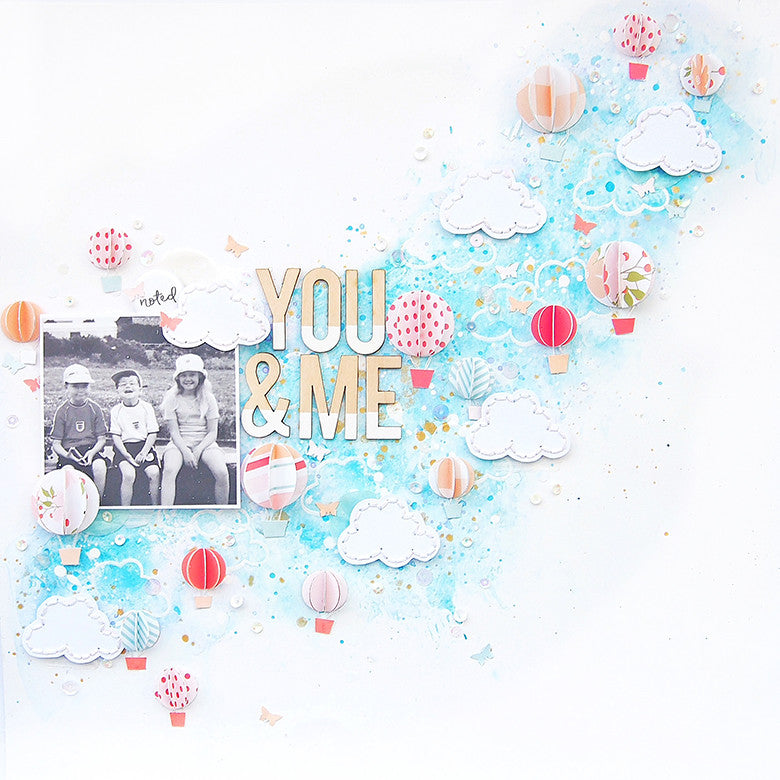
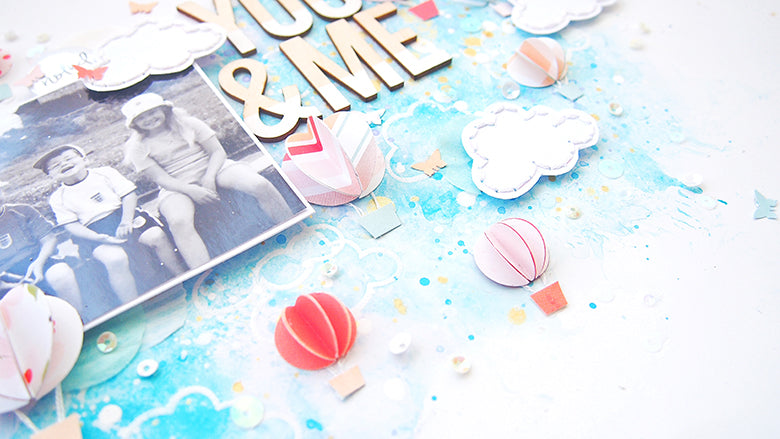
Foam adhesives are an essential part of my kit. More often than not, my photos are always adhered to my layouts with foam. When I have a busier design, like on this layout, the foam really helps make the photo a focal point by literally raising it up above the main design.
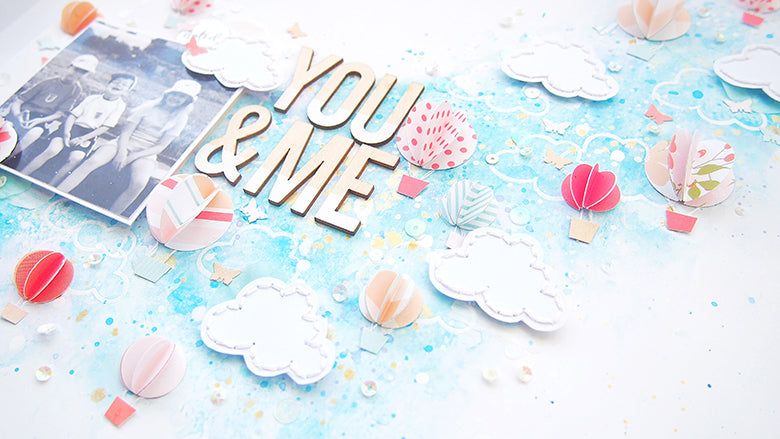
With the clouds I used a couple of techniques to give the illusion of dimension. Not only did I pop the stitched clouds up with some pop dots, but I also heat embossed the same cloud design onto my background with clear embossing powder. The embossing powder resisted the paint on my background which, along with the stitched clouds, created the dimensional look of a background, middle ground and foreground.
If you're not one for wanting to bulk out your pages too much, this is a really great way to get that dimension without the physical height.
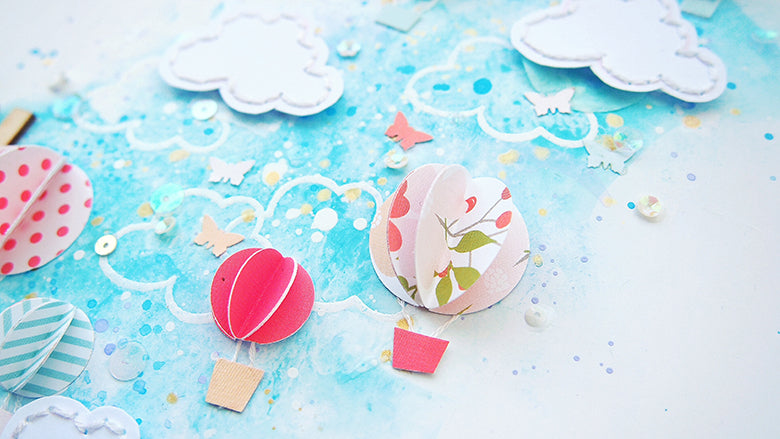

Now brace yourselves, we're going to get a little more experimental over here, and add some more dimension by creating some 3D embellishments!

To make the hot air balloons I used 1inch and 0.5inch circle punches to punch out some of my favourite patterns from the papers. I then folded each circle in half, and glued one half of a circle to another half.

For each hot air balloon I used four circles, but you could do more or less depending on the look you want to go for.
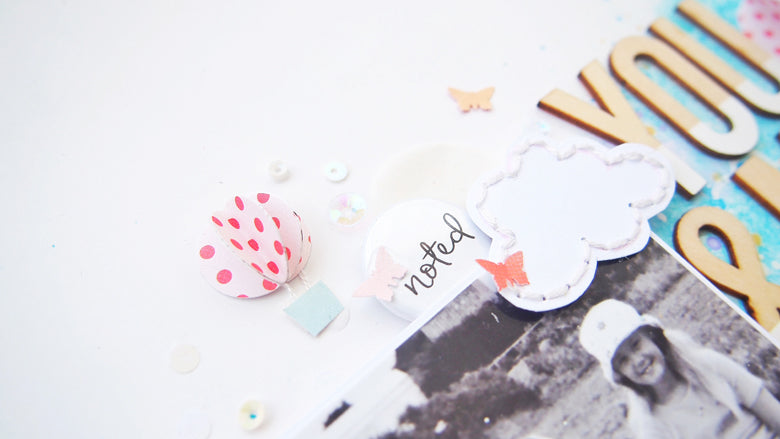
Check out my process video below to see how this layout came together:
Supplies Used: Maggie Kit | Maggie Patterned Paper Add-On | Maggie Solid Colour Paper Add-On | Happy Day Stamp Set |

1 comment
Love this page, it is beautiful.