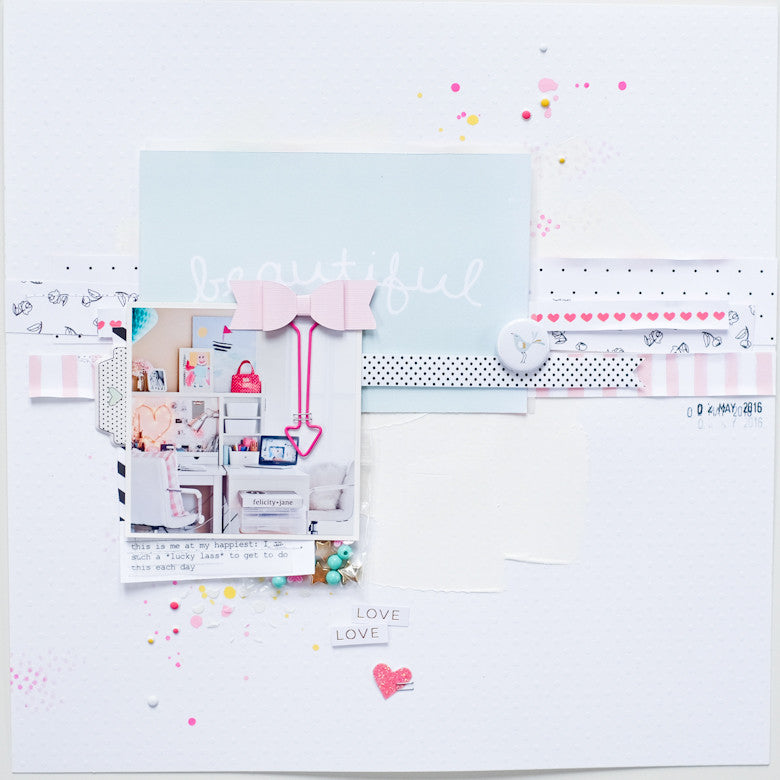
Simple Mixed Media | Suse
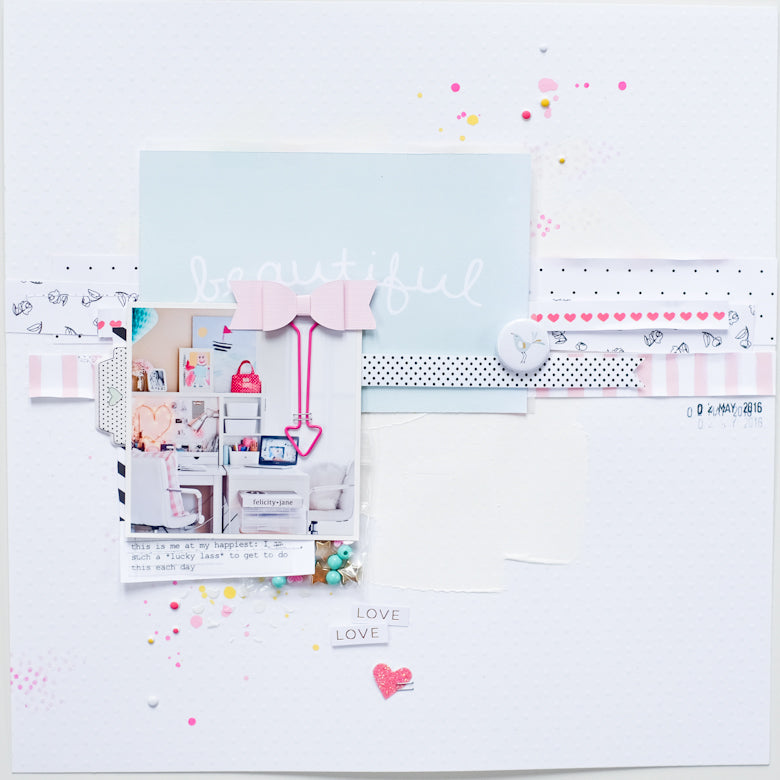
I don't know about you, but it took me a while to be brave enough to experiment with mixed media on my layouts. Those ladies on youtube make it look so easy, but in reality... well, it can all get a bit messy very quickly, can't it?
Here's a quick tutorial showing you how I pop a little bit of that mixed media loveliness on my layouts without too much terror being involved!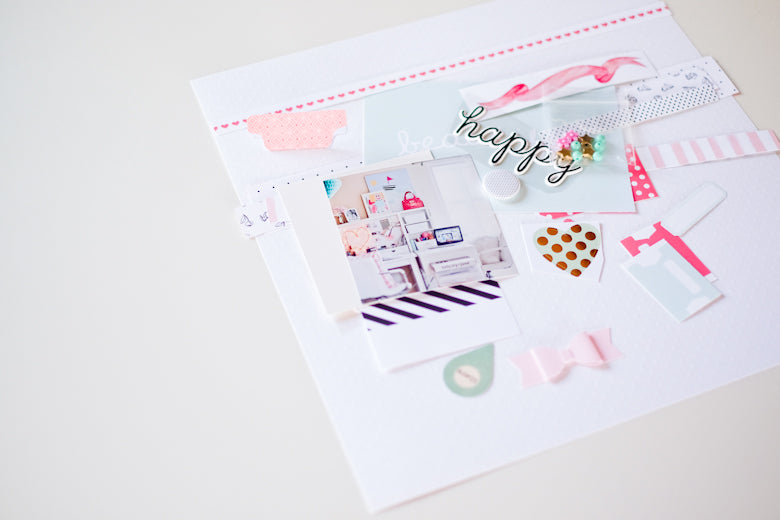
I always start work on my layouts by pulling out all the pretty bits that I think will go nicely with my photo; I have a rough idea at this stage of how I want my end page to look.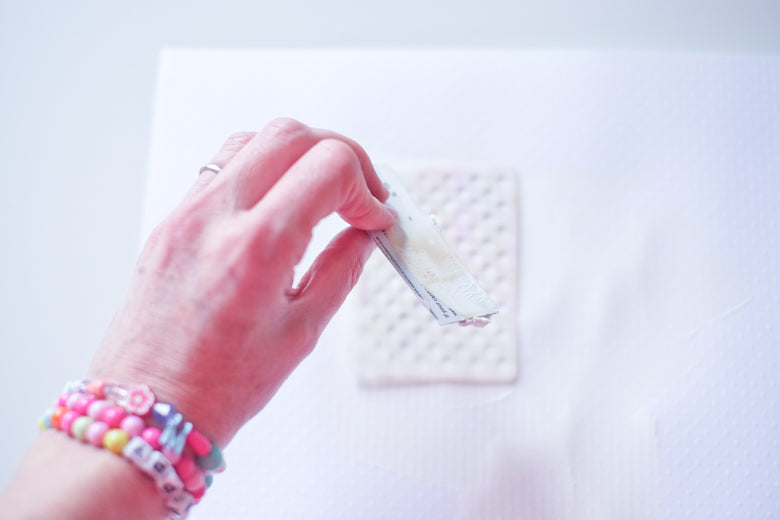
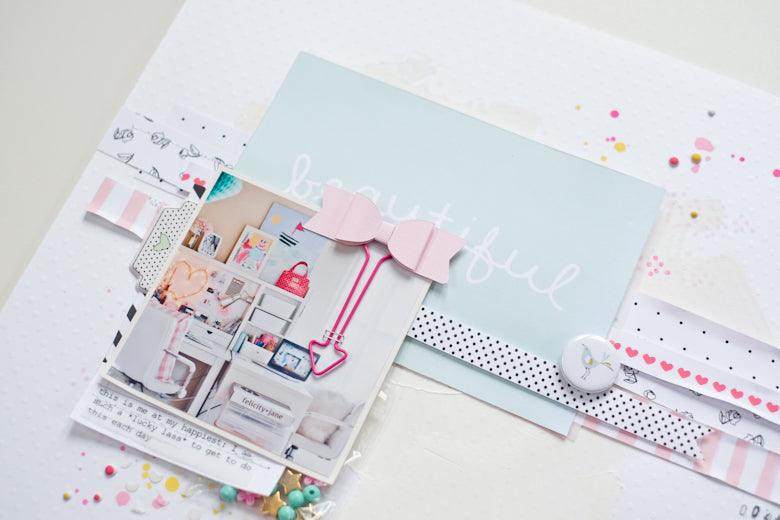
After scooching (it's a word!) some gesso onto my page to prepare the paper, I use an old credit card and a stencil and add modelling paste to the area that will be around my main cluster. I keep things quite restrained - just a little hint of texture and interest is the look I like.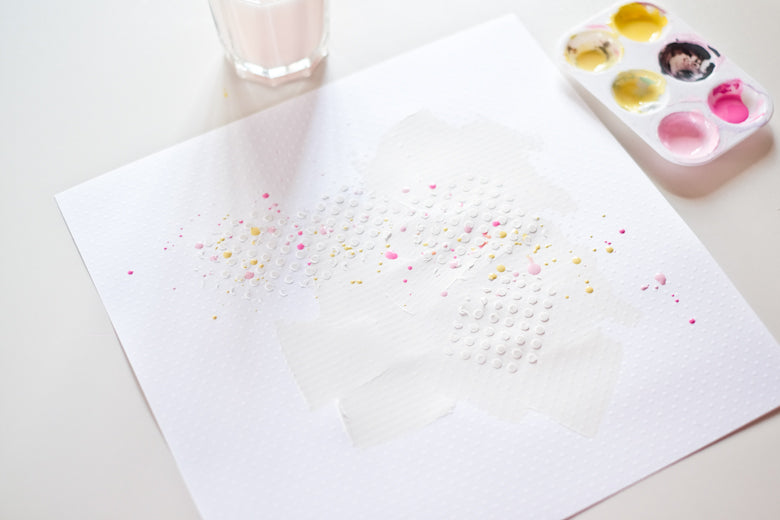
I then add some paint splatters by tapping my brush over the areas where I want them to be. Picking colours that will tone with the rest of the products is the key here - that, and letting the page dry properly!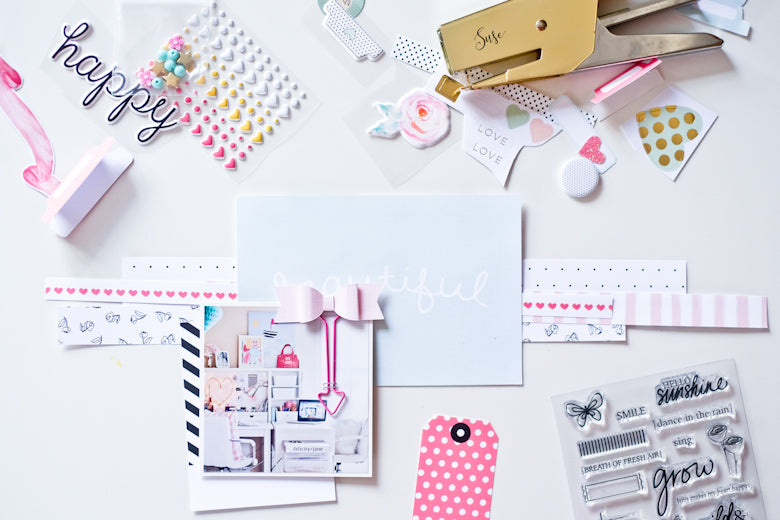
While the background's drying, I tend to play around with how I want my layout to look.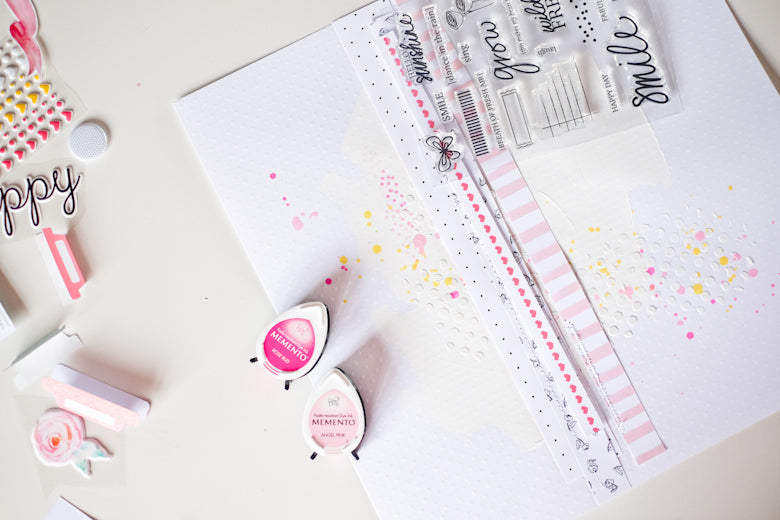
Once everything's dry, I can start assembling the background elements of my layout, as well as adding any background stamping. I tend to try and work with a light touch - it's tricky to un-do 'too much'!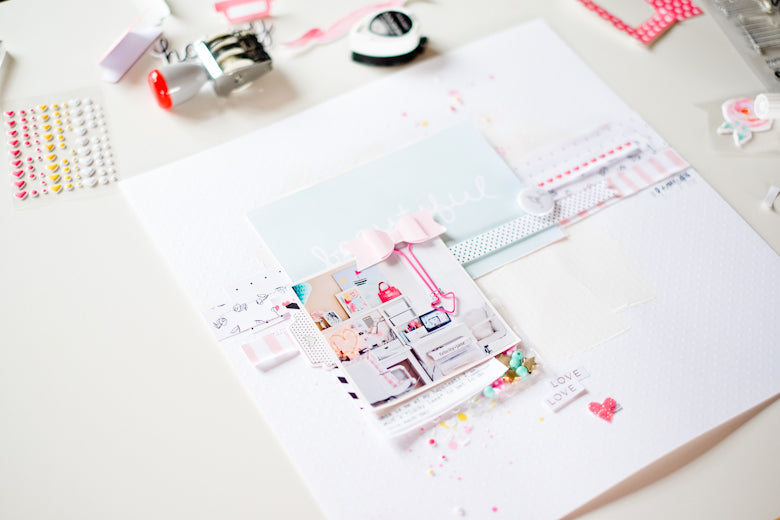
Then comes the fun bit: popping it all together!
I do hope this little peek into my process for a mixed media layout was useful and has maybe inspired you to have a try. Don't forget: keep it simple and light and the process doesn't need to feel scary!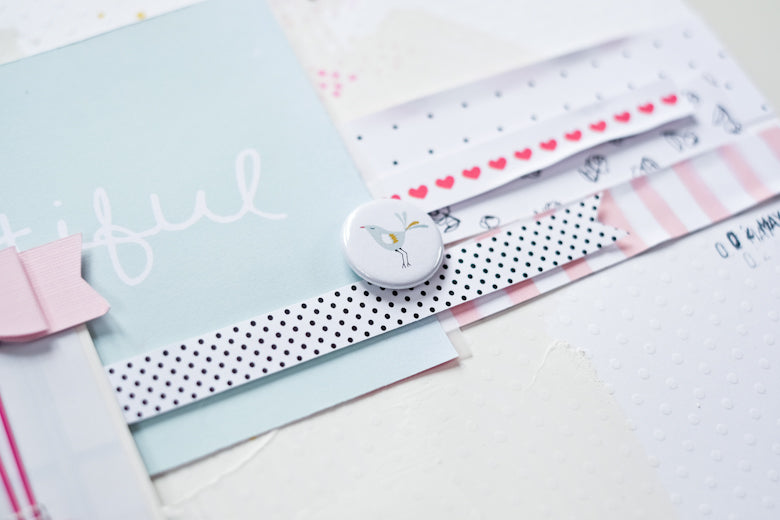

1 comment
gasp this is just BREATHTAKING! i am in love with those colors! and the hint of texture and mixed media is all you need! wow!! goooooorgeous!!!