How to print and cut Felicity Jane planner stickers | Julie Kinneeveauk
 Julie, here, and I'm the proud new owner of a Silhouette Portrait. Which also means: I am highly motivated, and under-skilled to use this machine. :) I couldn't wait to make my own Felicity Jane planner stickers, so I figured out just enough information to cover that, and want to share it with you. This post is geared towards the Silhouette Newbies out there. If you haven't taken yours out of the box yet (ahem), or haven't quite figured out the print and cut feature, please read along. If you're a pro, you can head straight to the Design Store and get busy! :)
Felicity Jane designs the most beautiful planner stickers, and up until now, I've manually cut them out by hand. Achieving a "kiss cut" on this machine felt magical. I want you to experience that magic as well! Here's what you'll need:
- printer
- Silhouette cutting machine, with mat
- Silhouette Studio program installed on your computer
- sticker paper (I prefer matte, removable)
1. First things first, you'll need to make a trip over to the Silhouette Design store, and enjoy scrolling through all the options in the Felicity Jane section. (I'll be using this design). Choose a planner sticker set, purchase, and download the file into a place you'll remember to find it.
2. Open the Silhouette Software program on your computer, then retrieve and open the planner sticker file. (Mine was located right in my downloads file. Yours will be wherever you choose to store it).
3. Ensure that the registration marks are visible. (The black square at the top left, and the corners on top right/bottom left).
4. Make sure you've loaded your sticker paper into your printer correctly, then PRINT! (Command+P on a Mac, or click the printer icon on the top left).
Stop to admire the gorgeous designs.
5. Place the sticker sheet on the Silhouette mat, within the 8.5" x 11" guidelines. Load the mat into the Silhouette by pressing the top button on your machine. (clipboard with grid)
6. Confirm your cut settings by choosing the media you'll be cutting. ( I chose "White Sticker Paper". After trial and error, I adjusted to the following settings: Blade: 2, Speed: 5, Thickness: 5

7. Make sure the blade on your machine is set to the same setting as shown on your computer screen, using your tool to twist it to the correct setting if necessary.
8. Click "Send to Silhouette" and prepare to be amazed. :)

Tip: Think of peeling the mat off of the sticker sheet vs. the sticker sheet off the mat. I think it helped keep the edges from curling.
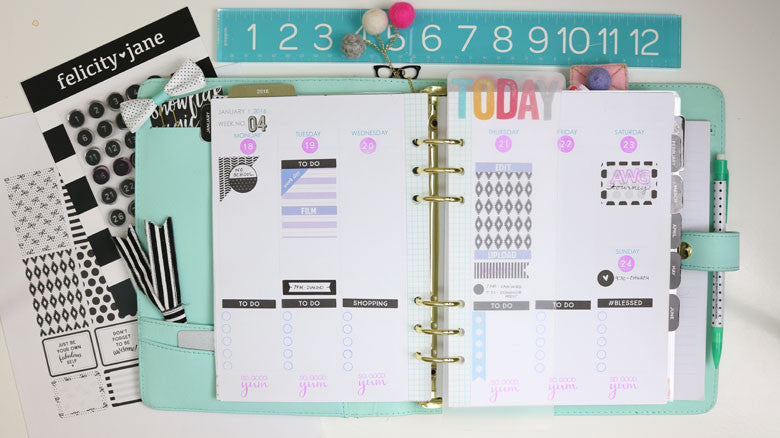
I quickly added a few of my hot-off-the-press stickers to my weekly planner spread. I love that I can reproduce these any time I'm running low, and that this particular set (black and white) will *go* with anything. Sort of like the little black dress of the planner world. :)

I hope by reading through these simple steps you're encouraged to give this print and cut feature a try! If you'd like to watch my step-by-step video with screenshots, here's the video:
3 comments
I am “in love” with your planner Julie!!!
That is one seriously pretty planner, Julie! x
Thanks for the tutorial Julie! those black and white stickers are adorable.