A Holly Inspired Christmas Eve Layout | Sheree Forcier
Hi everyone!
With today being Christmas Eve I thought I would share a Christmas Eve spread! This one is for my 2016 album (which I’m still working on) since I don’t have the photos for this year just yet.
When I saw the fun cardstock dividers in the Holly Kit I knew I wanted to create a fun page for my album that you could see through but I still wanted to be able to add embellishments to the inside of each circle. Since there was only one of these pages with the circle in the divider pack I used it as a template to cut a second one from patterned paper. I simply used a click pencil to trace around the inside of each circle and the outside edge of the page as well. I then used some sharp scissors to carefully cut around each circle.

Next I adhered a transparency sheet on the back of the white cardstock divider. This allows me to adhere embellishments to the inside of the circles while still being able to see through them. I decided to make one of the circles a shaker window. To do this I added some adhesive around the outside of the circle, arranged some star confetti inside then layered another piece of transparency over the top. (You can watch how I did this in the process video towards the end of this post.)

The patterned paper backing was then adhered over the top of the transparency side of the white cardstock divider, then I used my sewing machine to stitch a border around the edge and around the outside of each circle. This added some lovely texture to the page.

Die cuts were then adhered to the centre of some of the circles with double sided tape the felt star was stapled into place and the gold foil numbers were adhered using tiny glue dots. On the back of the page I added similar shaped die cuts to cover where the double sided tape could be seen through the transparency. An epoxy piece covered where the staples could be seen on the back of the felt star. I love how this fun page turned out!

Next I worked on the pocket pages that would follow the divider page. The journaling was printed onto two separate cards using my computer and plain white cardstock. For the first card I added a scrap of diagonal striped paper to the top with a little stitching, then stamped and embossed the words “Be Merry” from last year’s Joy Stamp set.

A felt star was stapled onto the page protector of the 6 x 4 inch photo. I then stamped and embossed the words “family time” onto a scrap of white cardstock to stitch onto to the bottom of the large photo as well.

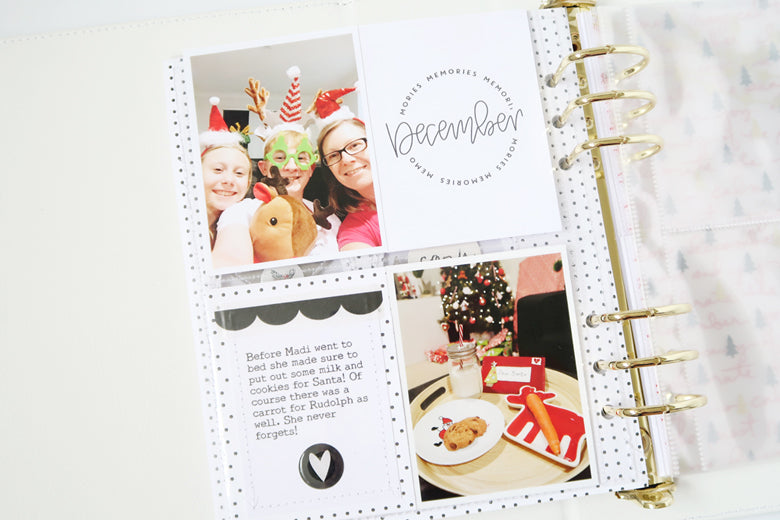
On the other side of the pocket page I added a filler card next to the first photo, the worked on the second journaling card. I backed the journaling with some spotty paper, stitched a border, added some scalloped washi and finished it off with an epoxy sticker.


You can see my process in the video below:
These pages were so much fun to create! I hope I’ve been able to give you a few ideas to use in your December album too.


Thank you so much for joining me on the blog today…and Merry Christmas to you and your families too!
Sheree
SUPPLIES | Holly Kit | Holly Paper Pack | Holly Cardstock Dividers | Holly Die Cuts | Holly Felt Stars | Holly Gold Foil Chipboard Numbers | Holly Epoxy Stickers | Joy Stamp Set | Hannah Scalloped Washi Tape| Star Confetti
