"ALPAKA LOVE“ LAYOUT I KERSTIN SCHEIDLER
Hi everyone!
Kerstin here with new inspiration for you featuring the Mari Kit. I got my hands on the pretty Mari Journaling cards and thought a layout with them would be perfect.
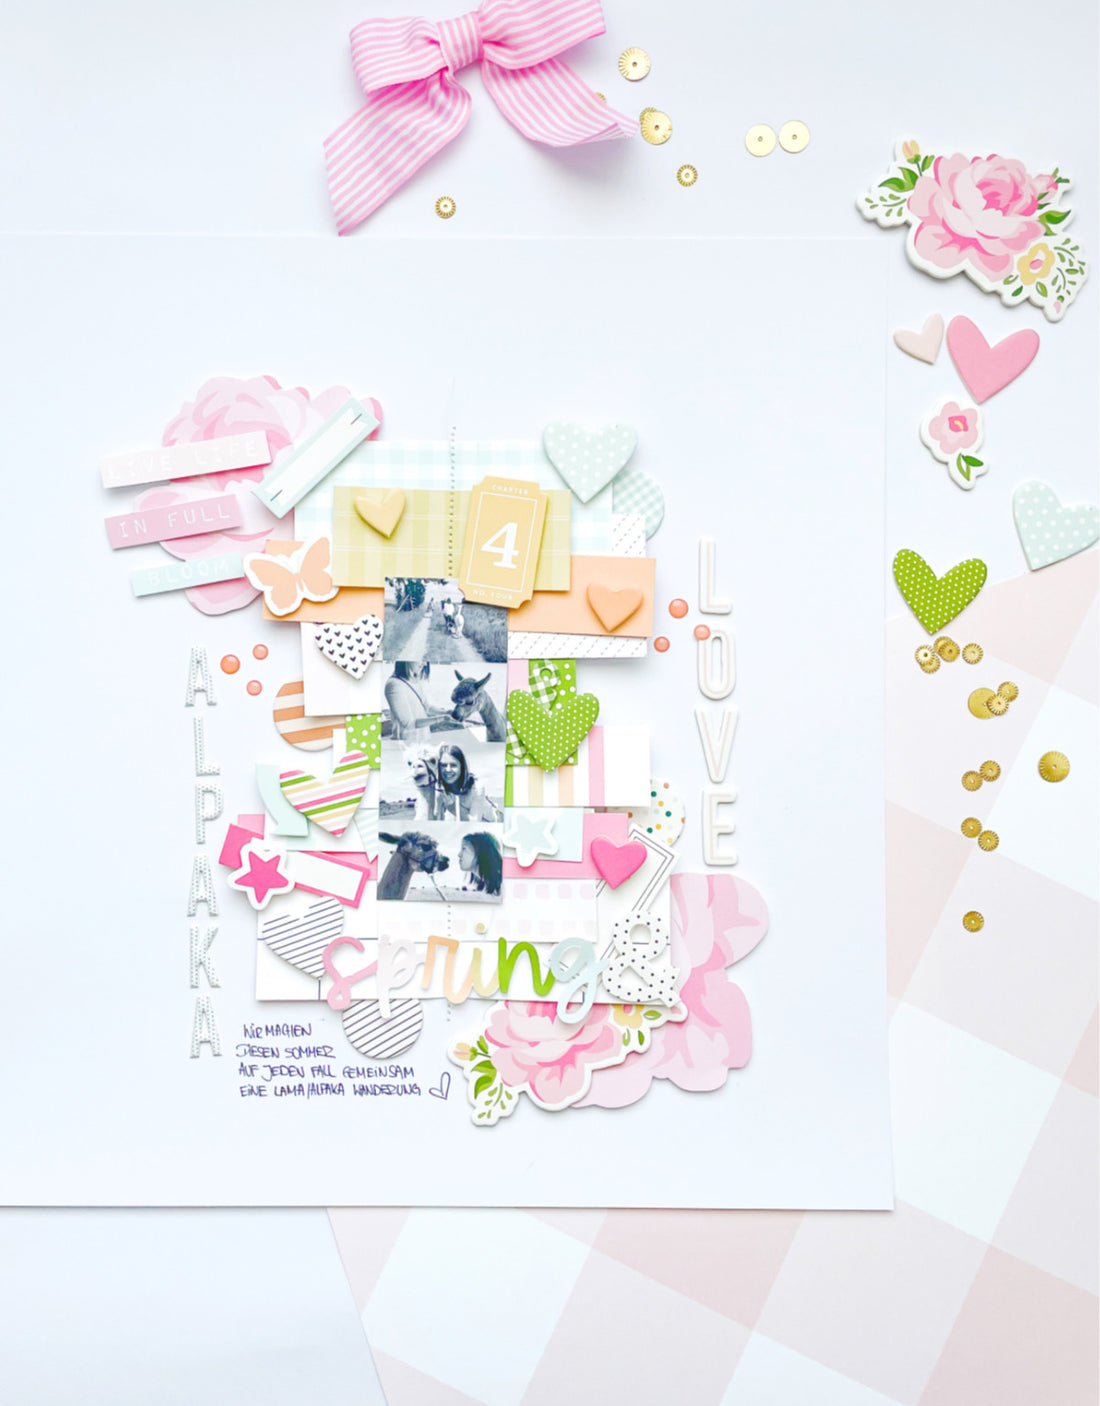
First I cut the selected journaling cards into different widths and lengths and then arranged them on a white Essential 12 x 12 Cardstock. I had found another wider strip of the Window Pane Paper and used it as well. I used a thin piece of tape to hold each strip in place. Then I sewed them down the center with my sewing machine.

I arranged the beautiful Mari Chipboard Shapes and the amazing Mari Die Cut Shapes to match the colors of the journaling cards. I put the light blue dotted heart and the light blue banner on the light blue plaid journaling card, and then the yellow tag and yellow heart on the yellow plaid journaling card. For each strip, I picked out the matching Mari Chipboard Shapes and Mari Die Cut Shapes. 
From the Mari Floral Paper I cut out two roses and arranged them on the top left and bottom right next to (below) the strips.
Then in the upper left I cut out the individual word strips from the journaling card with words and adhered them with 3D Dots. In the bottom right, I used the beautiful large Mari Flowers Chipboard Shape.
I have wanted to use my daughter's photos with an alpaca for a long time. I printed the photos in a strip and placed it in the center of the background strips.
The journaling card with the word "spring" was perfect for me to cut out with my scissors. I removed the smaller parts of the word with a cutting knife.
I also really wanted to use the awesome Julia Chipboard Buttons as well as the Tori Epoxy Dot Stickers. I am in love with both pieces and think they just go great with my layout. I really like it when there is a lot to explore on a layout!
I used the Mari Chipboard Alphabet and the Essentials Puffy Alphabet to create my title on the right and left. 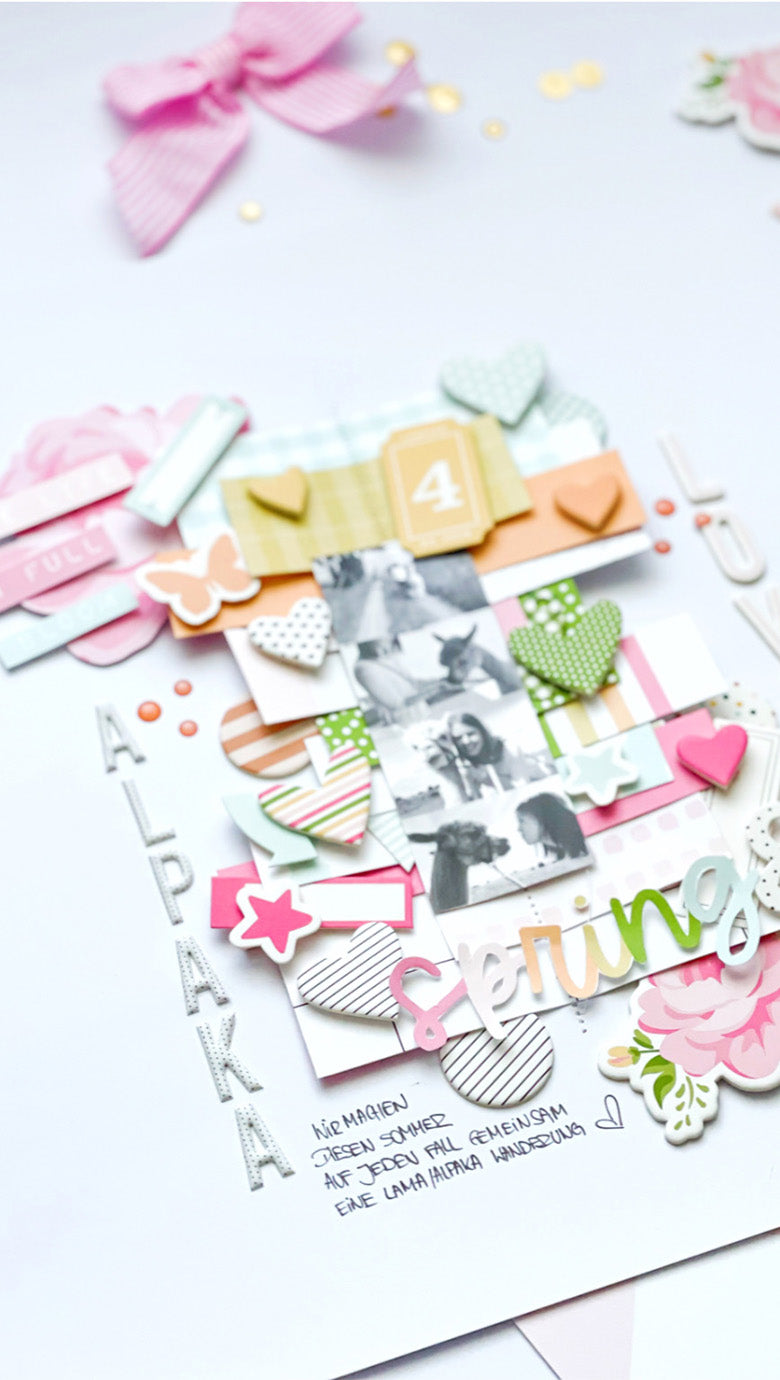
A little handwritten journaling completes my layout. If I want to write something more for my layouts I often use the back side. There I can then still add personal notes.
I hope you like my layout with the Mari Journaling cards and I hope I've inspired you to also make a layout with journaling cards too.
I wish you a creative time!
See you next time
Kerstin xx

SUPPLIES: Mari Kit I Mari Paper Pack I Mari Journaling Cards I Mari Die Cut Shapes I Mari Chipboard Shapes I Mari Chipboard Alphabet Stickers I Julia Chipboard Buttons I Tori Flexible Epoxy Dots I Essentials Puffy Alphabet Stickers - Tiny Dot