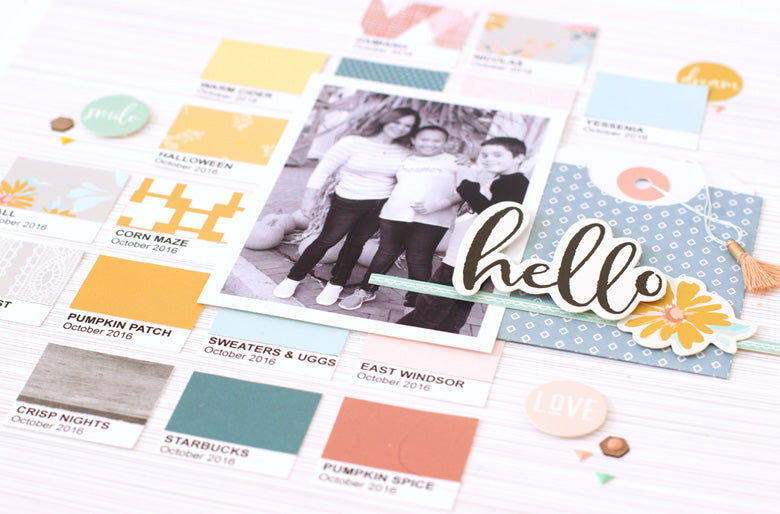
Custom Paint Chips + Heidi Kit | Nancy Damiano
Hey there friends, Nancy here with you today with a look at the Heidi kit. I love the fall feel of this month's kit and the first thing that caught my eye was those beautiful colors in the solid cardstock sheets. I knew that I wanted to highlight them and put them to good use! Since I was thinking about color, the idea to create little paint chips came to mind. What better way to showcase color than to create a custom, pretty palette of fall hues.

I created white boxes that are 1.5" wide by 1.35" tall, placing custom titles in the lower half. This personalized the story and embellishment. Using a very plain bolded Arial font for the title at the top is key in creating a nice clean look just like the Pantone color chips. I repeated the date at the bottom to keep the chips uniform. Gathering all the bits of color and spacing them to create a background layer for the focal photo to lay on was the key in this design.

To place some weight just behind the photo, I used a tag and envelope to ground the title and add a bold pop of blue to the layout. The script yellow title is held in place by the aqua strip die cut and the pretty yellow flower. To add a bit of design flair, I added a tassel attached with embroidery floss to the tag. This gives this area a pop of movement and something fun!

A sprinkle of circle die cuts (a contrasting shape), hexagon wood veneer and some left over puffy triangles completes the design. That scattering gives the boxy background so much needed movement. Contrasting shape is an easy way to achieve that.

Custom paint chips can be used in so many ways. Think of the possibilities for birthday, Christmas and baby layout. When you are looking for a clever way to put the kit solids to work - create a color chip!
Nancy
Supplies: Heidi Kit | Heidi Paper Pack | Heidi Die Cut Shapes | Heidi Story Tags | Heidi Designer Pockets | Heidi Tiny Tassels

1 comment
Cute page! The custom paint chips….what an excellent idea!! Love them