Guest Designer | Celes Gonzalo
Hi everyone! Thanks for being here today. I’m Celes from GuiadeManualidades.com and I’m back with a wonderful and colorful idea with the Tori Collection.
Last time we made a funny and very special explosion box, so I want to give you some inspiration to create a lovely mini album to add to it. It’s the perfect gift! Let’s get started!
First thing to do is to prepare the stable cardboard pieces. For my project I cut some pieces of stable cardboard : #1- 6 1/2” w x 4 3/4” h (cut 2 pieces of it), #2- 6 1/2” w x 1/8” h (cut 7 pieces of it, for the album spine).
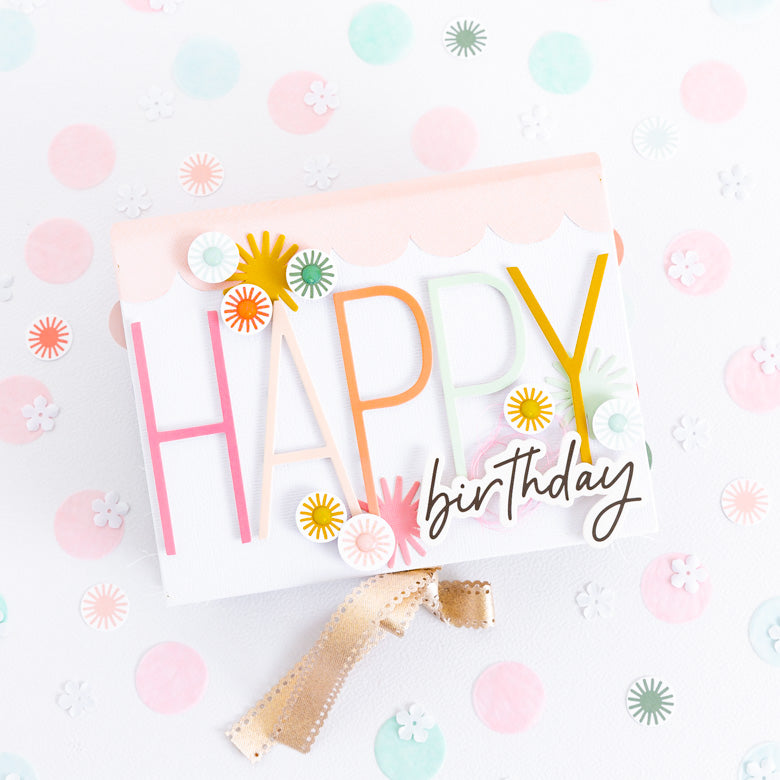
I chose one paper from the Tori Paper Pack and white cardstock to cover all the structure. For the cover I used: die cut alphabet, some die cuts and I cut confetti from one of the papers. For the final details the epoxy dot stickers were great! It’s a cover full of colors and super happy…
It’s time to go inside of the mini album!
I made two structures for the mini album. The first one in an accordion of paper. You need to cut a paper of 36” w x 6” h and you have to score it every 4 1/2” (you will do it seven times). With this accordion ready, we are going to stick with double-sided tape to form pockets along the structure. So you are going to get a structure of 7 pages and 4 pockets.
The other structure is just a pocket for some journaling cards that we are going to decorate with stamps, epoxy dot stickers and some confetti.
Then… let’s decorate! Time to play with papers and all the embellishments… Add a bit of pink sewing thread and some confetti…
For every page I cut a different paper from the paper pack and added sewing details with the sewing machine. I love the way it looks! 

When you decorate all the accordion structure, add a ribbon at the back (before adding it to the mini album). For the journaling cards I also add some tabs from the paper pack and decorated them with the sewing machine.

I hope you like this idea…
Thanks for stopping by!
I loved to share this month with you <3

SUPPLIES: Tori Paper Pack | Tori JUMBO Die Cut Alphabets & Numbers | Tori Puffy Alphabet Stickers | Tori Puffy Stickers | Tori Die Cut Shapes | Tori Stamp Set | Tori Flexible Epoxy Dots | Tori Journaling Cards

3 comments
Mary, I had problems figuring out the spine too. I ended up cutting 1 inch by 6 inch strips and I scored them in the middle at 1/2 inch. Then I glued these folded strips back to back and glued in my papers/shaker pocket. Then I glued the last page down to the base of the album. It doesn’t look quite the same but it worked for me. My pages flip nicely and it looks cute too!
I love this!! I am going to make one of these!!
What a beautiful Book !! I would like to make a similar one and I have a question. In the instructions it says to cut pieces for the spine – I don’t understand sorry—I have not made an accordion book before so that is probably my problem? If you could post a video or possibly explain how to construct the accordion portion of the project ? Thanks !