"Happy Love Day" A5 Notebook Spread | Sheree Forcier
Hi everyone!
Last month I decided to create an A5 notebook about me right now, things that I love and fun things that happen throughout the year that I want to remember. Today I have a new spread to share with you that I’ve added into my notebook featuring the super adorable Millie Kit!

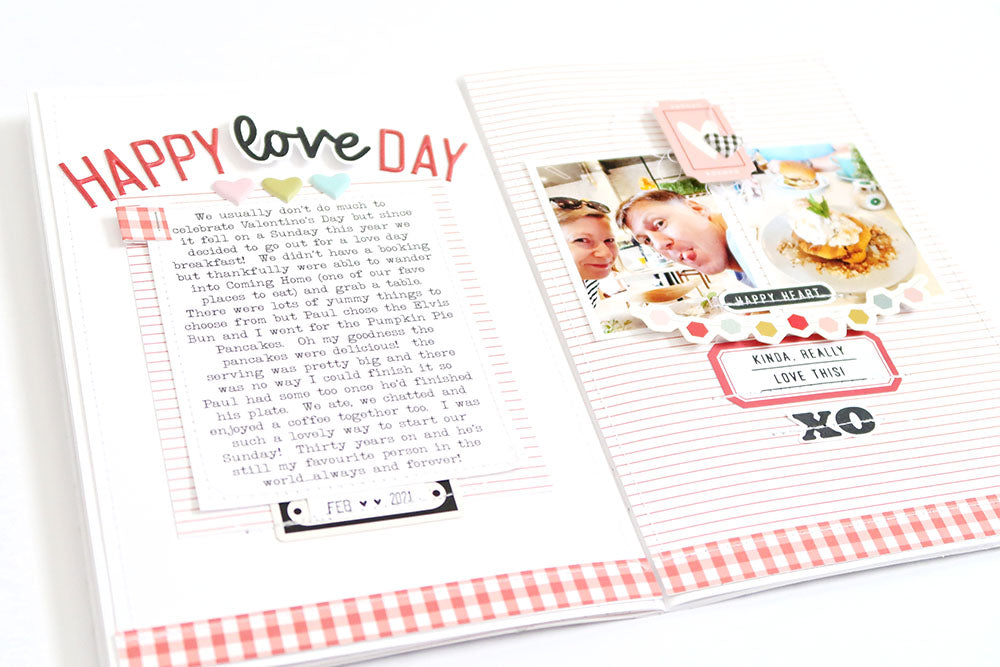
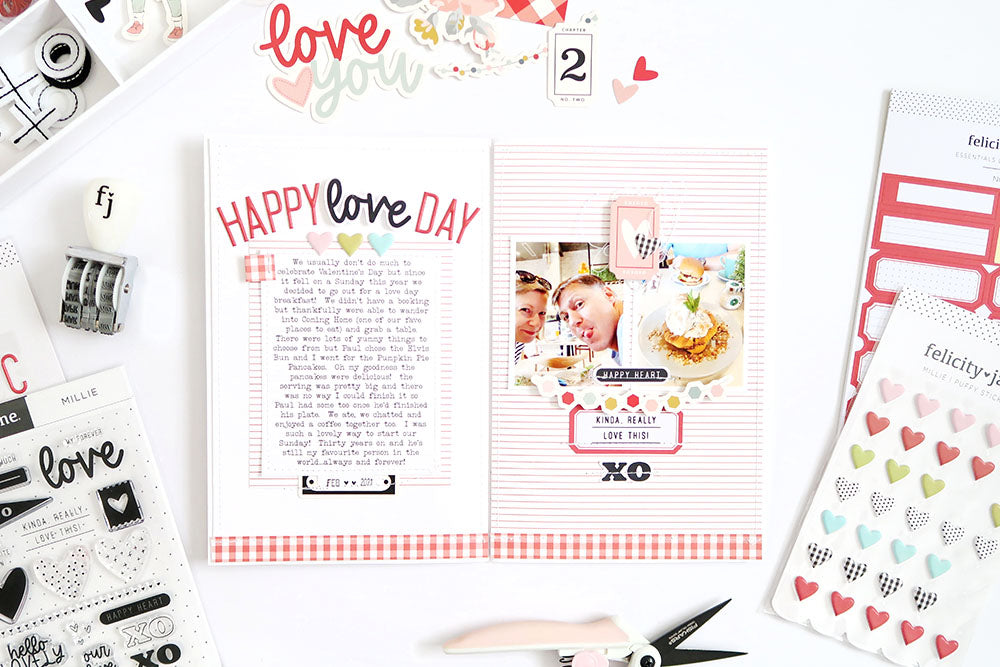
On Sunday, my husband and I decided to go out for a Valentine’s Day breakfast. It’s something we’ve never really done before for Valentine’s Day so we thought it would be fun! The food was so delicious and we made sure to sneak in a quick selfie while we were there. Of course, the Millie Kit is just perfect for documenting this memory.
I always like to create my pages outside the notebook so I can add things like stitching and staples before adhering the pages in. I cut some white cardstock to size for my first page background and the Millie “Pin Stripe” paper for the other. I also used the gingham branding strip from this paper across the bottom of both pages and added machine stitching.

I printed out some journaling onto white cardstock and backed it with another piece of the “Pin Stripe paper so it would help the first page tie in with the second. Stitching was added and then it was adhered into place. I had a small piece of the gingham branding strip left which I folded in half and stapled to the top left of the journaling for a little extra touch of red. I added three coloured puffy heart stickers to the top then created my title above.
I decided to adhere the title in a curved shape. I used a combination of the Millie Puffy Alphabet Stickers and the “love” word from the Millie Stamp Set for the title, ensuring that I slightly curved the “love” stamp on my clear block before stamping it onto white cardstock and cutting it out. I also used some foam adhesive behind the stamped word to add some dimension.

For the date I used my FJ Roller Date Stamp and a die cut label from the kit.

I had two photos to add to the second page…both roughly two inches wide so I knew they’d fit nicely next to each other on the page. At the top of the photos I used the heart ticket die cut with a gingham puffy heart sticker and some messy thread.

At the bottom of the photos I added a stamped phrase, one of the banner die cuts, a label sticker stamped with another phrase from the stamp set and then finished off with an “XO” stamped piece before adding some more machine stitching.

If you'd like to watch how I put it all together you can see my process video below...
I love how this spread turned out with all the beautiful colours and elements from the Millie Kit! I hope I’ve given you some ideas to try on one of your projects.

Thanks so much for stopping by the blog today! Be sure to pop back in tomorrow to see our new February Sketch Challenge!
Sheree x

SUPPLIES: Millie Kit | Millie Paper Pack | Millie Die Cut Shapes | Millie Puffy Alphabet Stickers | Millie Puffy Heart Stickers | Millie Stamp Set | Essentials Label Stickers No. 4 – Millie | 12 x 12 Essentials White Cardstock | FJ Roller Date Stamp
