“Love This” A5 Notebook Spread | Sheree Forcier
Hello friends!
Today I’m excited to share a project with you from my A5 Notebook featuring the new Mabel Digital Kit! The thing I love about working with digital kits is that you can print as many copies as you like plus you can alter the sizes of things to suit your project too!

To prepare for this project I chose the red diagonal gingham paper (Paper 12), a striped journaling card and some pretty ephemera pieces from the Mabel Digital Kit and printed them onto plain white cardstock and cut them out. You could also print onto matte photo paper but I found that my printer worked perfectly well with the cardstock for this spread. You can experiment a little yourself with your printer and different papers to see what gives you the best results, or you could also get the files printed elsewhere if you don’t have a colour printer at home.

I always like to create my pages separately outside the notebook and then adhere them in when they’re finished. That way I can add stitching to my project using my sewing machine. I cut a piece of white cardstock to size for the first page, then printed out a large photo the same size for my second page.
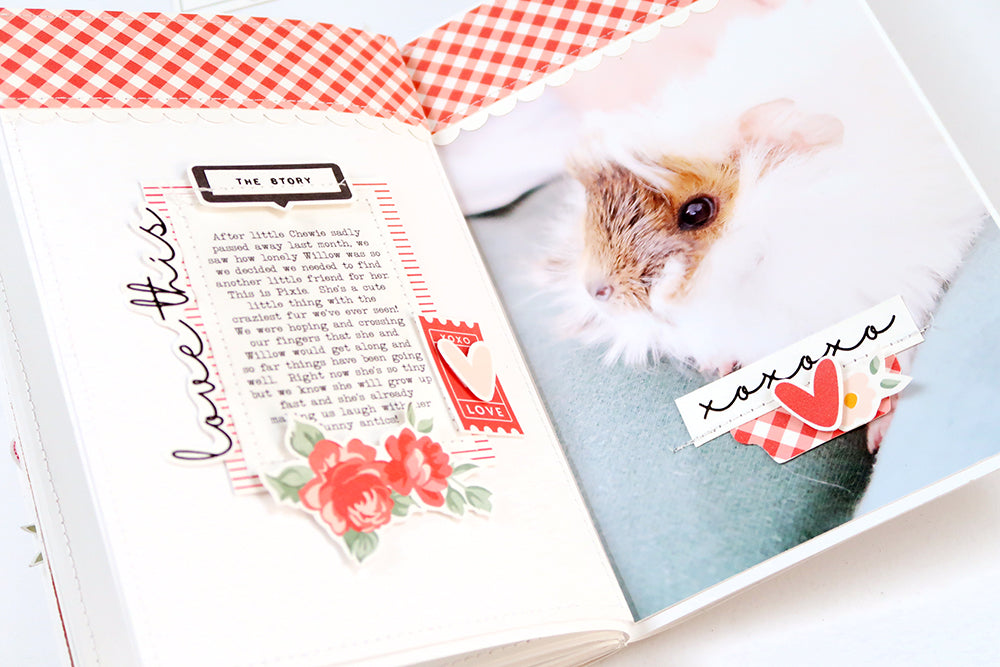
I cut two strips of the patterned paper approx. 1.5” x 5.25” to go across the top of each page. I also cut two narrow strips of white cardstock and punched scalloped edges before tucking them under the bottom edge of the patterned paper strips. I also added stitching with my sewing machine.

My journaling was printed onto white cardstock and adhered to the center of the striped journaling card on the first page.

I stamped “the story” using the Mari Stamp Set onto white cardstock and adhered it to the center of the black label to go above the journaling. I stitched across the label before adding it to the page with foam adhesive.

The floral ephemera piece was adhered under the journaling, the love ticket and a heart was positioned on the right, and the “love this” phrase was adhered down the left side. Again, I used foam adhesive under some of the pieces to add dimension.

I also wanted to add something to the large photo page so I created a little cluster towards the bottom of the picture with the “xoxoxo” piece, the gingham tab, a small flower and a heart. I also added stitching and a little foam adhesive to this cluster too to continue those elements across the spread. The pages were then adhered into my A5 notebook!

You can see my process in the video below...
I love how this project turned out and the Mabel Digital Kit was so pretty and fun to work with! Have you tried creating with a digital kit before? If not, I hope you’ll give it a try!
Sheree x

SUPPLIES: Mabel Digital Kit | Mari Stamp Set | A5 Notebook – Madison Window Pane
