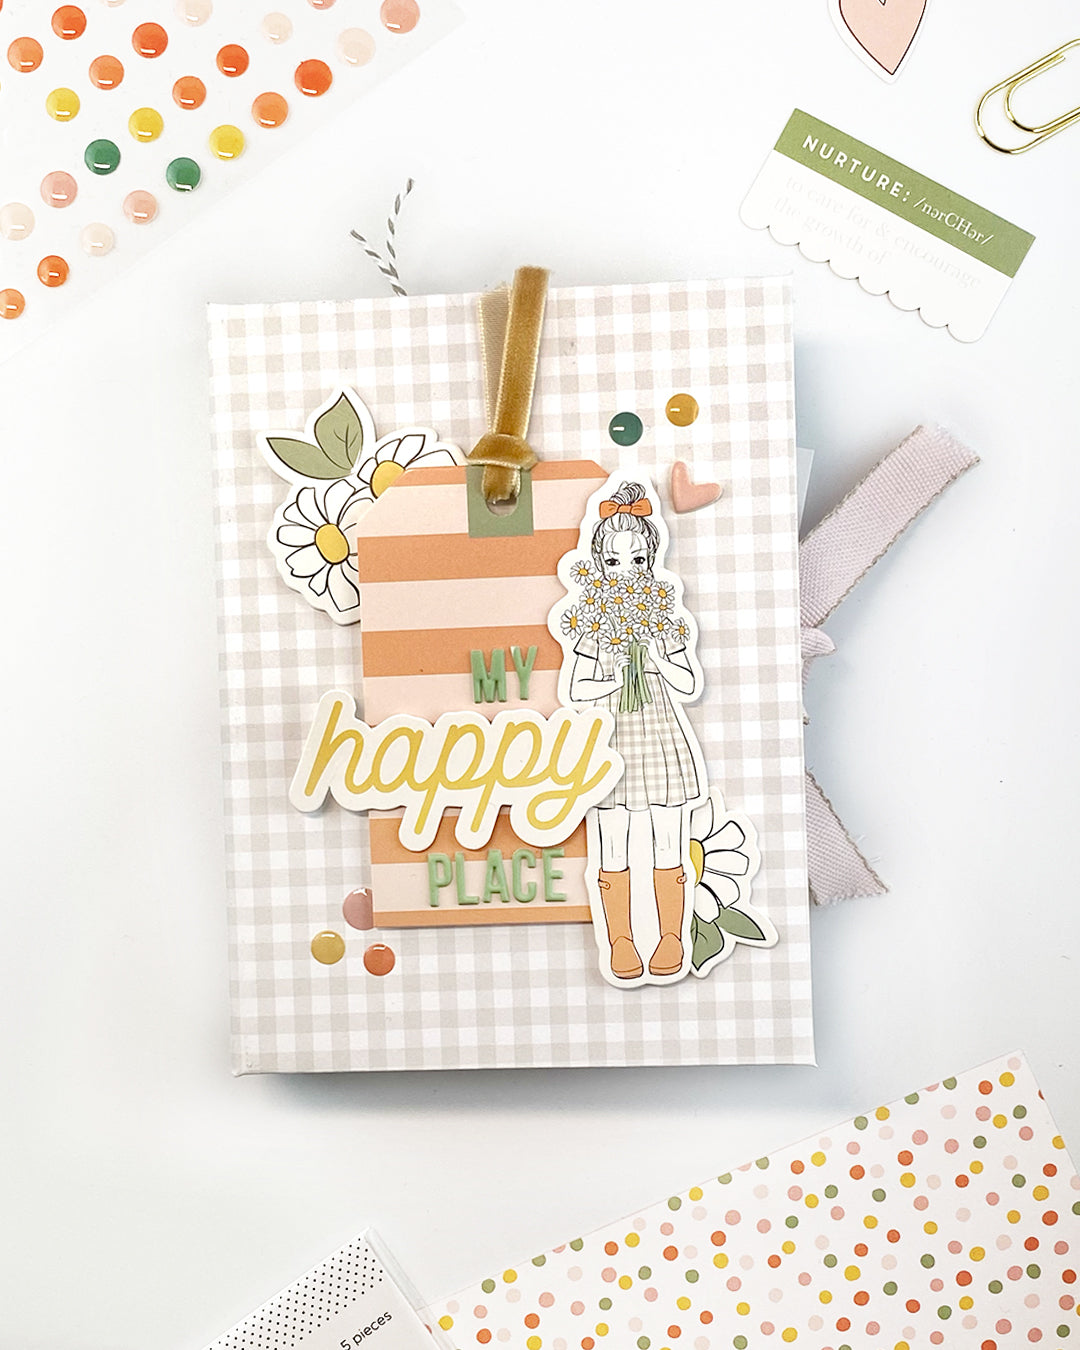
"My Happy Place" Mini Album | Elena Martinelli
Hello my FJ friends, it’s me, Elena! Today I’m super excited to show you my first project with Abigail Collection!

Let me show you how I made this mini album!
I've cut 3 cardboard pieces , two 6”x 4.5” for cover and back cover, and one 1”x6” for the spine.
I covered all the pieces with gingham & butterfly papers and I've decorated with die cut and puffy alphabet from the kit. Don’t forget to add some epoxy dots ;) 
Making inside pages is easy and fast!
I've prepared some easy spine binding with 4 pieces of white paper. In the back cover I made a little pocket for holding journaling cards and tags.
For the first page I have chosen a hearts & stripes paper, decorated with a yellow bow and a chipboard sticker

For the second page I have chosen Floral & Grid, Polkadot & Linen papers.
Pages always measure 5.5”x4.5” and to decorate I used a journaling card, with a thought written with my typewriter and some chipboard stickers, die cut flowers and buttons were applied to the picture.


Instead on the third page I have chosen two papers including Abigail 6x6 paper pack and I have created a special leaf with cardstock frames. Inside it I put a picture and a little message written with my typewriter.

On page five, I have used a thick double-sided tape and I have created another pocket cutting a butterfly paper 5.5”x3"over the stripes paper 5.5"x4.5".

On the sixth page: on the left I've used once again a Journaling card and on the right side I made a vellum pocket containing a big-size picture.


SUPPLIES: Abigail Kit | Abigail 6 x 6 Paper Pack | Abigail Paper Pack | Abigail Die Cut Shapes | Abigail Mini Fabric Bow Clips | Abigail Designer Cardstock Tabs | Abigail Journaling Cards | Abigail Flexible Epoxy Dots | Abigail Chipboard Stickers | Abigail Cardstock Frames | Abigail Stamp Set | Abigail Bows & Buttons | Abigail Puffy Alphabet Stickers
