Ring Mini Album | Jana Bennett
Hello FJ friends,
So, the Rebekah kit is slowly getting into your hands..isn't it soooo exciting! I know I say it with every kit but oh my, I really love Rebekah. Those flowers and colours are just amazing. Something everyone would want for their autumn pages! I think this is the very first project in which I used every single item from the kit!

I decided I will make a mini album which is going to be a birthday gift for my mum. It was a kind of last minute decision and I had two nights to create it but I DID it! That just proves how easy and fun it can be to make this kind of mini album! I got totally inspired by Flora Monica Farkas and this mini is my second one - last year I made one for my mum, too. So now she is going to have two different albums sitting on the shelf ready to bring all the happy memories back.

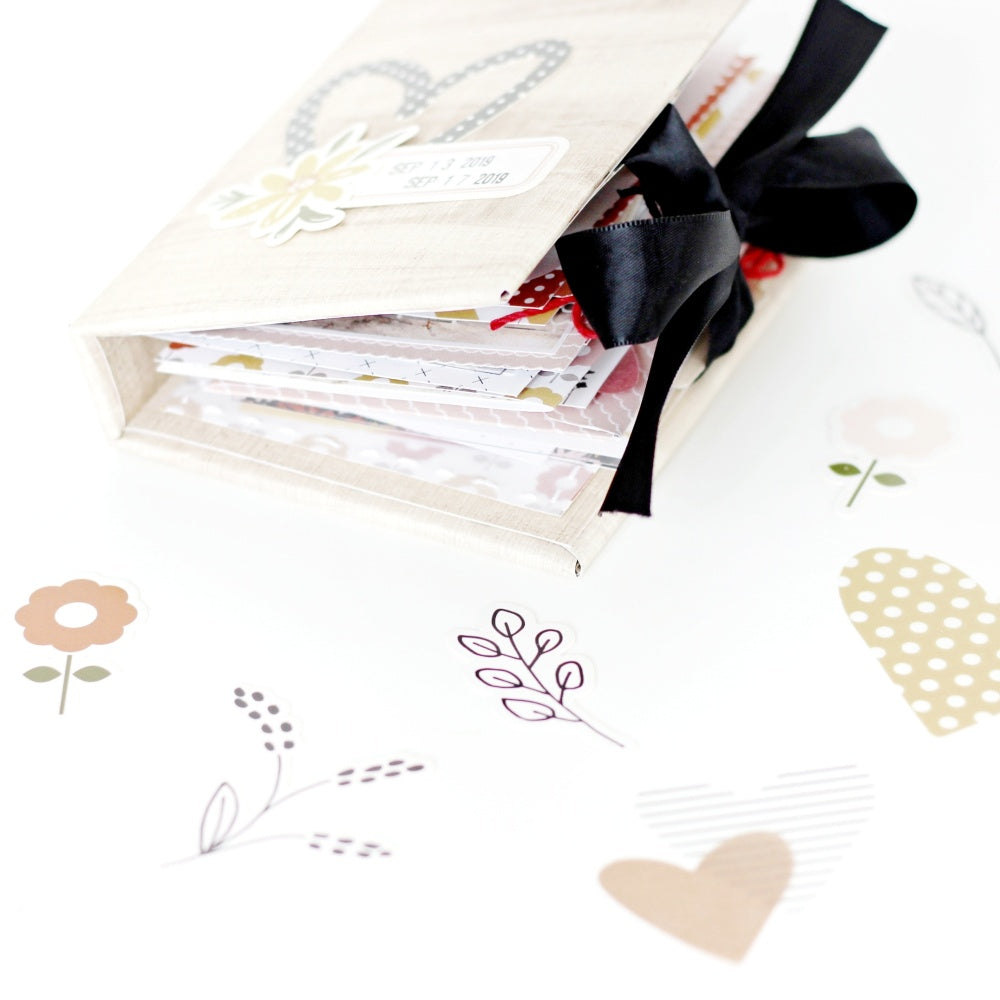
I started with the base. A tricky bit when you don't concentrate properly and watch Friends at the same time as you are working (Ooops). I made two mistakes which cost me having to use more of that most beautiful paper with wood design (ouch!). The size of the cover is slightly bigger than 4x6 inch. I was planning to use the journaling cards. My album is 1 inch wide but this is totally up to you. It depends how thick you want the album. I went quite over the top with embellishing so it could have been even wider. At the end you add the ring. It is good to place the hole in the cards so that you can easily flip it over when going through the album. Like a calendar. To decorate the cover I used some die cut shapes and the white puffy alphabet stickers. In Czech we have some weird diacritics and I simply create those by cutting the X letter.

I also made a little charm by using a black string to make the tassel and then I simply added the tiny rubber labels (so cute!) and a golden charm from the Denise kit.

And here comes the inside bit. As you can see it is very bulky because I just couldn't stop creating more interactive and decorative elements.


I love using different sizes of papers to create some diversity. Therefore a Tag Builder Metal Die Cut Set came very handy. I even cut some photos using the tag die.


There is something that I just have to include in every single mini album - vellum and acetate foil. And I love to decorate it using stitching or drawing with white marker. Such a brilliant little technique for such a huge effect!


To give the album a structure it is organized chronologically and each day has its number. I used numbers from Zoey kit. Those numbers that didn't match the colour combo of my album I just simply traced on a paper and cut out.


As I mentioned before there are a few interactive elements to make it all the more interesting and fun (plus they are fun for me to create, right!). One such element is the little envelope I made in order to hold a few more photos.

From a flower paper I cut a 4x6 card and folded it in the middle to make an opening element. There is a big family photo that we took and I am sure my mum will love it. To make it easy to open I just cut the top bit and it slides nicely on the ring.

I also created a vellum pocket by stitching a piece of vellum on a card.

Oh and there is a vellum pocket from the kit right at the beginning of the album! It holds some more pictures and some happy birthday and thank you wishes for my mum. Scrapbooking albums are just the best presents, right?


Well, that was one fun mini album and a loooong blog post with lots of pictures. Thank you for getting through it. Have a lovely day!

SUPPLIES: Rebekah Kit | Rebekah Stamp Set | Rebekah Paper Pack | Rebekah Rubber Tiny Tags | Rebekah Puffy Alphabet Stickers | Rebekah Vellum Pocket Fronts | Rebekah Gold Foil Puffy Title Stickers | Rebekah Die Cut Shapes | Rebekah Vellum Hearts | Essentials Miniwide Paper Clips - Mustard | Rebekah Journaling Cards | Rebekah 6x6 Paper Pack | Zoey Chipboard Numbers | Shay Tag Builder - Metal Die Set
2 comments
Thank you so much, Adel! ❤
I love it so much!!!