“This is Me” Altered Book Spread │Mix-It Monday | Lydia Cost
Hello there again, sweet crafty friends! Today I’m cracking open my selfie altered book again, to bring you something fun. This one is all about that inserted pocket for me. I can’t wait to take you guys through how I mixed in all my FJ goodies to document something pretty in this fun little book.
I decided on a two page spread in my book, but I had my heart set on a pocket insert, so I pulled out my utility knife. I measured off a one inch line from the spine to cut through two pages of my vintage book. This one inch would be perfect for pinning in a pocket page with some brads. I pulled out my variety pack of page protectors; I then trimmed it down along the edge, so that it would fit perfectly inside my vintage book. Now that I had the size of page protector I wanted, I used both my sewing machine, my utility knife, and my fuse tool to create fun little pockets in it. 
I chose a large rectangular pocket on the bottom. I placed a small cutting mat in-between the sheet protector sides, and then using my utility knife I cut through the top layer, using my ruler to line it up. For the top section of my page, I chose a triangular design. I repeated these steps to create two more pockets. Now to seal up the closed portions of my pockets, I ran each section through my sewing machine to create some fun and unique pockets. 
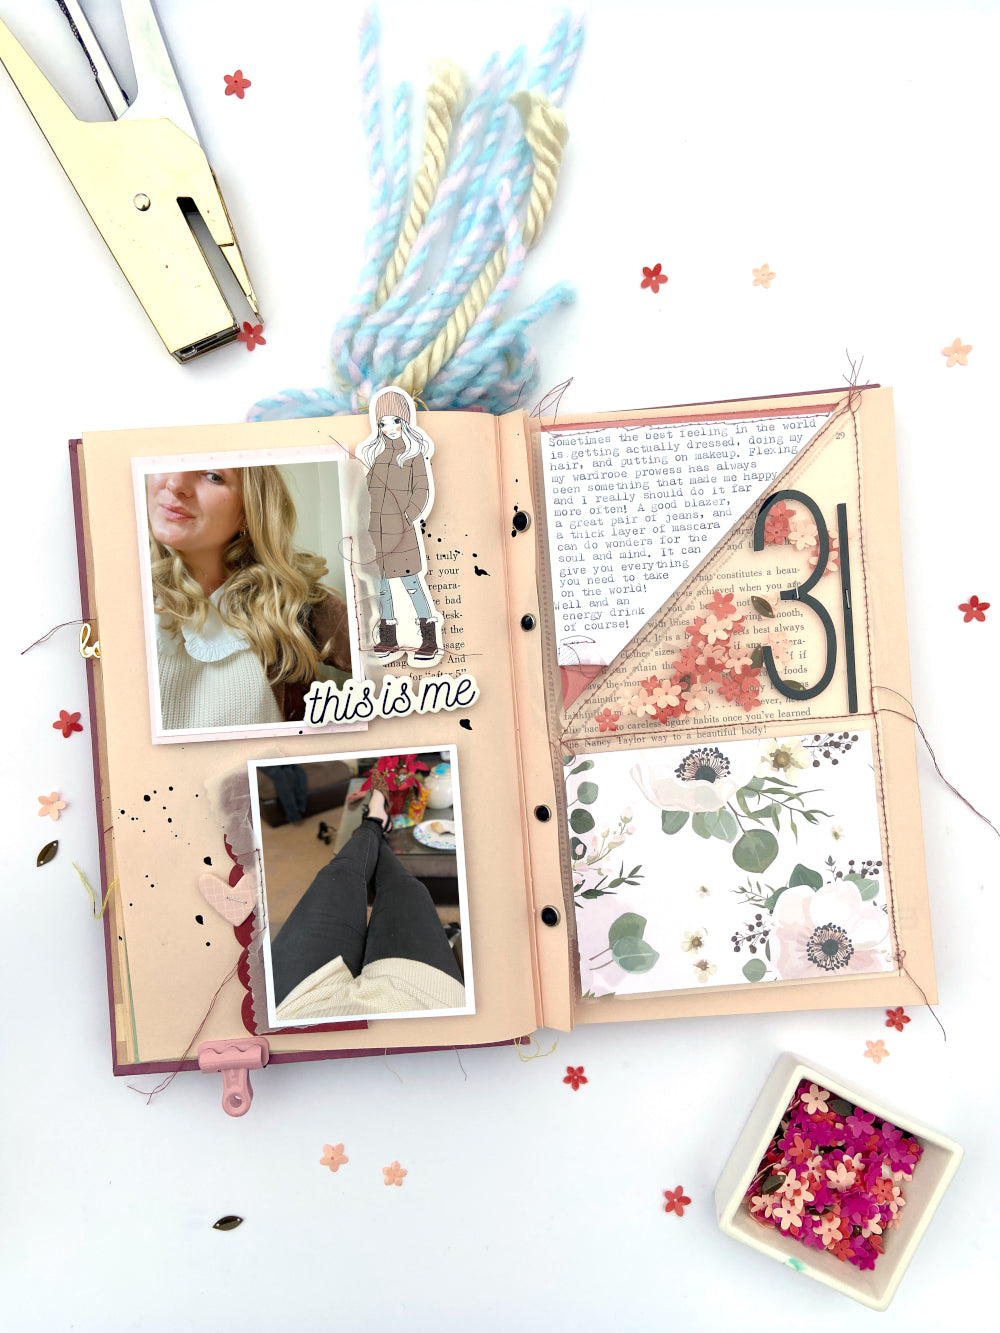
For one of the triangular pockets, I wanted to do a fun shaker pocket. Those have been a theme with my December documenting, and it seems to be carrying into the new year too. I stuffed it with some black jumbo numbers and some of the Taylor floral sequins mix. I closed it off with my fuse tool. I then slid in my patterned paper additions to the remaining pockets. The top triangle I reserved from a bunch of journaling. I rolled up some white cardstock on top of some of the pretty solid papers from my FJ stash.
I then used my one-hole punch to punch corresponding holes into my trimmed page spine. I placed my pocket page in-between the two pieces of my book page. After lining up the holes, I put 4 brads into each of the holes to secure it in place. This is one of my favorite techniques to add a unique element to an altered book!
To finish off my spread, I added in my photos on the left side. This was my simplest part, since I wanted my photos and pocket page to do all the talking. I added in a few pieces of ephemera and some of the amazing chipboard pieces. Along with some stitching and recycled packaging this altered book spread really came together. I know you guys have heard it a time or two from me, but I love working with my entire FJ stash. It really helps get the creative juices flowing! 

SUPPLIES: Krystal Kit │ Krystal Paper Pack │ Krystal Die Cut Shapes │ Krystal Journaling Cards │ Krystal Chipboard Bits │ Coco Paper Pack │ Essentials JUMBO Die Cut Alphabets & Numbers │ Taylor Floral Sequin Mix │ Coco Page Protectors - Variety Pack