Two Ways to add more Pictures to your Traveler's Notebook Spreads | Peggy Emmrich
Have you ever wanted to add more photos to your Traveler's Notebook page, but couldn't quite make it work? Today, I have two examples and a couple of tips and tricks for you on how to incorporate more than one or two photos into your notebook.
First up is a fairly simple but effective technique: Collages!

Collages are great and easy to put together. In order to create the most effective ones, make sure you have multiple photos of a similar color scheme in a small, but a number of different sizes. Grid designs are a perfect starting point for creating photo collages.
I used pattered paper to frame my grid and a couple of different embellishments from the Emeline kit to tie the photos together, for example by creating the 'today' label, which overlaps all three photos on the right, or by filling empty space with the word label stickers from the cut apart sheet on the left.
One thing that is really important to me while documenting life is to also capture the story behind the photos, but as you can see, there is not much room left for actual journaling. So to work around that, I created another spread in my book, just before this one, to incorporate my journaling.

I typed my journaling and pasted the piece of paper into the book. I then used vellum to hold my title and some extra embellishments. Rather than adding washi tape to the edge of my vellum in order to paste it into my book, I cut the vellum a little bit larger than the actual width of the notebook page. That way, I was able to cut a flap from the extra bit, which I could stuck underneath my pages, between the two staples. Yep, it's as simple as that, and you can't even tell the vellum was added in later.
The left side of this spread is fairly plain: I used the lovely colored paper to cover the entire page and created a cluster of labels at the bottom.
Looking at the pictures right now really makes me miss our time in San Diego! I can't believe it's been almost three years!

My second spread came together a little differently. I saw a picture on Pinterest, where someone had included a page protector into a Traveler's Notebook, and as soon as I saw that picture, I knew I wanted to try it myself.

However, I dit not want to take my notebook apart - way too messy and too much work if you ask me - so I found a way around that. The FJ Traveler's Notebooks are stapled, and this means you can add more pages by sliding them between two sides just as I did with my vellum peace earlier.
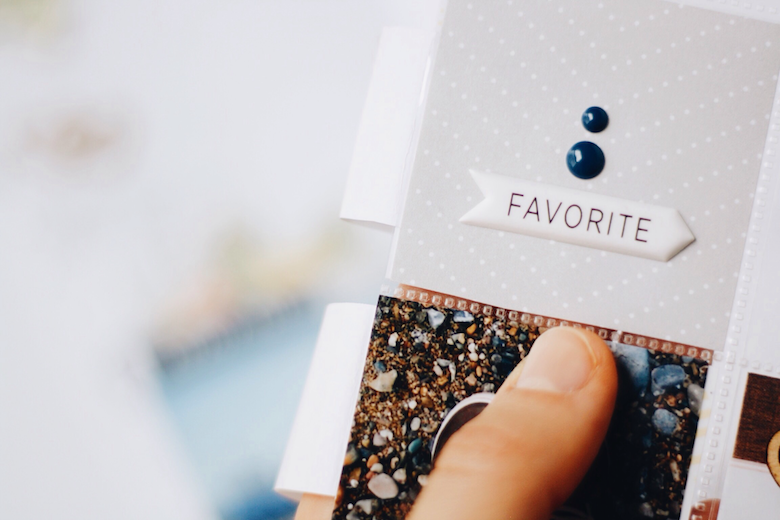
In this case I used printer paper and glued it between the photos of two of my pockets (I used a 6x8 inch paper protector and cut it in half). The extra paper can be used just like flaps, so I slid them between the pages and used washi tape on the other end to make sure my added page protector was secure.

I love the look and interest the page protector adds to my spread, plus I finally got to try pocket page scrapbooking, which was super fun!

I don't know about you, but I love these see-through and shaker pockets in pocket albums! It was a little tricky to create those here in my notebook, because I didn't want what was on the other side, to distract from the photos or affect the overall feel of each spread. So in oder to make it work, I used a doily and decided to dedicate one full page to my journaling. I also made sure the photo on the left side of my page would be covered completely by the page protector when turning it.

The stamps and wooden hearts in the kit were just perfect to add a little extra embellishment to my pockets, and don't get me started on the enamel dots. They are almost gone and I am close to crying - seriously!

I hope you enjoyed my pages today and use some of the tips and tricks in your projects! Be sure to tag me and Felicity Jane on Instagram and Facebook, so we can all see how you incorporate more photos into your Traveler's Notebooks.

Supplies used: Emeline Kit | Emeline Paper Add-On | Emeline Solid-Color Paper Add-On | Emeline Puffy Alphabet | FJ Stamp Emeline | Emeline Die Cut Labels | Traveler's Notebook Bundle |
