'Today' Scrapbook Layout | Mandy Melville
Hey friends!
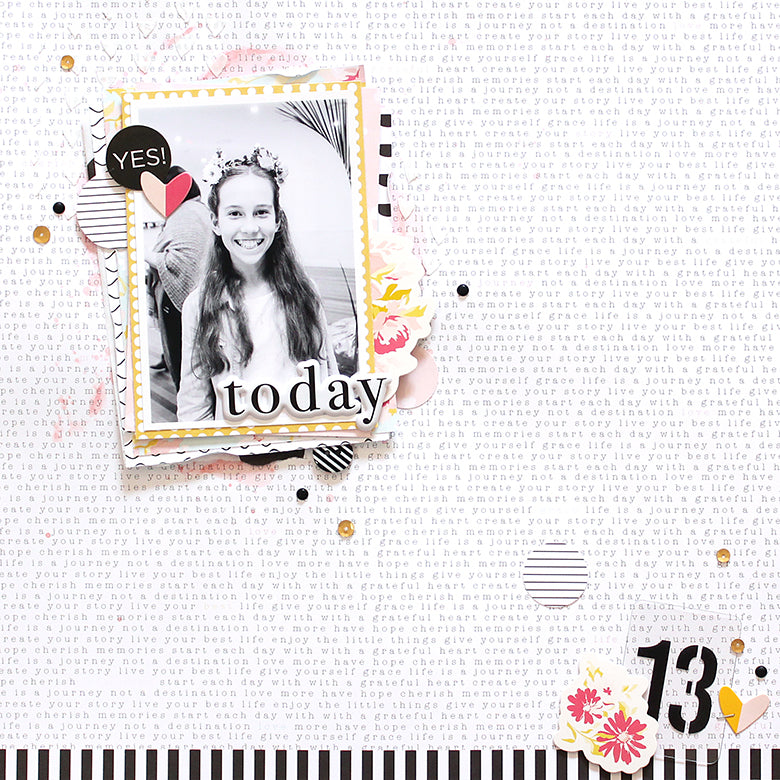
Mandy here with you today to share my first layout using the gorgeous Alexis kit! As soon as my kit arrived on my doorstep this week, I couldn’t wait to jump right in and start creating with it! I’m in love with the beautiful colours and patterns in this kit! I decided on this layout that I wanted to focus on the pinks and yellows from the kit, with lots of black and white elements for contrast! I documented a lovely photo of my eldest daughter Abi at her 13th birthday party last year…

I was immediately drawn to the patterned paper with the typed words on it and I decided on using that as the background for my layout. I wanted to leave the branding strip on the bottom of the page (because I LOVE black and white stripes) and so I trimmed a strip off the top of the page instead. I then added a little bit of watercolour to my background where I wanted to add the photo. Over the top of the watercolour, I also applied some texture paste through the heart stencil that came in the kit. I like that you can just see little bits of the mixed media peeking out from behind the photo!
I added lots of pretty layers behind the photo using patterned papers, as well as the polka dot tissue paper that the kit was packaged in. I distressed the edges of the papers to give them lots of texture and interest! I also added some craft foam in between a couple of the layers to give it some extra dimension. The Alexis puffy titles might just be one of my favourite things in this kit! I added the puffy word ‘today’ on the bottom of my photo, and used this as the title for my layout. I also tucked the large floral die cut from the kit under the right hand side of the photo. (I cut it in half so that I could use the other half on another project.)

On the top left hand side of the photo I adhered a couple of the die cuts from the kit to create a little cluster. Part of my reason for deciding to place a cluster in that spot was that there was another person in the photo who standing off to the side behind my daughter, and it was a little distracting. So by placing the cluster there, it partially covers that person, and helps to keep the focus on my daughter’s face.

I created another little cluster down in the bottom right hand corner of the layout. This one includes a couple more die cuts, as well as one of the acetate numbers from the kit. Because this layout is documenting my daughter’s 13th birthday, the number 13 was perfect to use on this page, and it also provides a nice pop of black in that cluster as well.

I finished the layout off with a few black bitty puffy stickers, some sequins (I had these leftover from my Oh, Deer kit), and a black & white striped button from the Autumn kit.
Thanks so much for joining me here on the blog today! I’ll be back next week with some more Alexis inspiration to share with you!
Mandy x
Supplies: Alexis Kit | Alexis Paper Pack | Alexis Acetate Numbers | Alexis Die Cut Shapes | Alexis Puffy Titles | Essentials Bitty Puffy Stickers | Autumn Black & White Striped Buttons
1 comment
So beautiful!