Traveler’s Notebook Layout | Mandy Melville
Hi everyone!
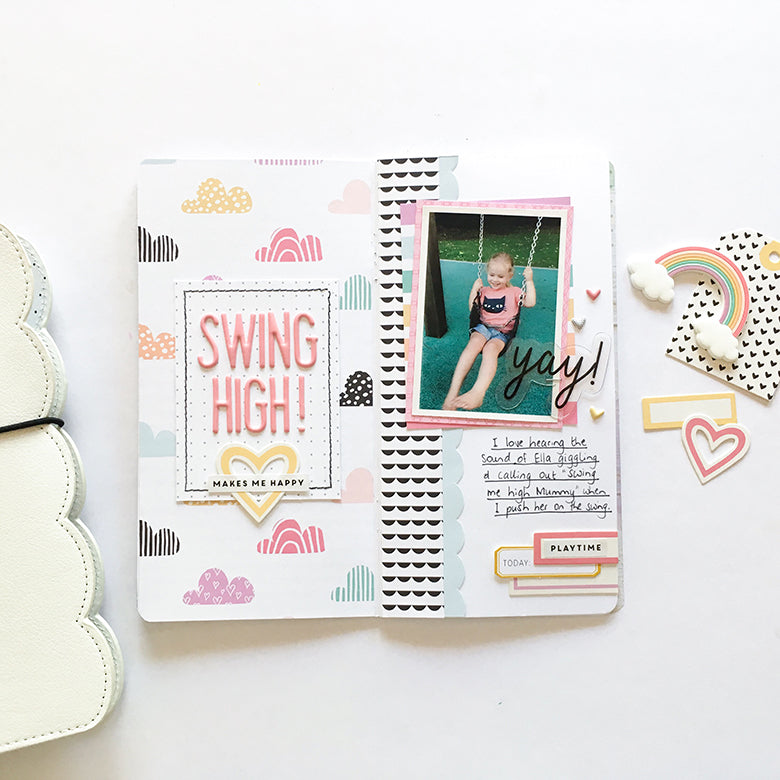
Mandy here with you today to share my first project using the ever-so-pretty ‘Brooke’ kit! I was so excited to start creating with all the beautiful things in this kit when it arrived this week! I really love the fun and whimsical feel to it, and the pastel candy-like colours! I created a traveler’s notebook layout to share with you today, and I documented a cute photo of my youngest daughter Eleanor playing at the playground.

I was straight away drawn to the cute cloud patterned paper, and I knew that I wanted to use it on my first project with this kit. I decided to cover the left hand side of the spread with that paper, and then I added one of the 3x4 journaling cards to the middle of the page. This provided a place for me to add my title. I used the reverse side of the card, which has the tiny grey dots on it, and I added my title using the gorgeous pink puffy alphabet stickers from the kit. I also added some black machine stitching around the edge of the card to help it to stand out from the background. Underneath the title, I added a die cut heart and a little word sticker (from the Kate collection).

On the right hand side of the spread, I added a strip of the black and white scallop patterned paper, as well as the scalloped branding strip off one of the solid color papers. Next I added a couple of layers behind my photo using the pink patterned paper from the kit, and one of the journaling cards, and then I adhered it towards the top of the page. I also stapled the acetate word ‘yay’, (which I had left over from the Zoey kit) onto the right hand side of the photo. I think this adds to the fun and playful feel of the layout.

Underneath the photo, I added some hand-written journaling. I don’t always like the look of my own writing, but I try to incorporate it onto my layouts regularly because I think that it’s an important part of memory keeping. At the bottom of the page a layered some labels together, and I added a little word sticker that says ‘playtime’ to the one on top. The yellow label that I used is from the ‘Emeline’ kit, and the other two are included in this month’s ‘Brooke’ kit.

I finished the layout off with a few of the bitty puffy stickers from the collection. These add the perfect finishing touch!
Thanks so much for joining me here on the blog today! I hope that you enjoyed taking a look at my TN layout! I’ll see you next time with some more crafty inspiration!
Mandy x
Supplies: Brooke Kit | Brooke Paper Pack | Brooke Pink Puffy Alphabet | Brooke Bitty Puffy Stickers | Brooke Die Cut Shapes | Brooke Journaling Cards | Kate Word Stickers | Zoey Acetate Shapes | Emeline Die Cut Labels