Creating a Mini Album Foundation | Adelina Starace

Hey, it's Adelina and I'm going to walk you through the steps I took to make myself the foundation pages for a mini-album I'll be using for a gift. I wanted to create the foundation for a mini-album so I can throw it together quickly. Otherwise it won't happen! *laugh*


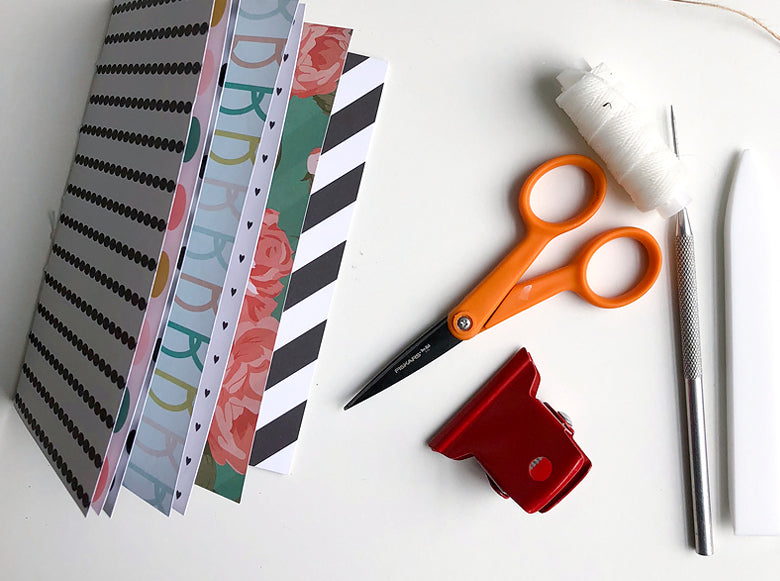
Select paper. Select 3 - 6 sheets of 12x12 scrapbook paper. I used 6 different patterns for my album.
Cut. Using a paper trimmer, cut the 12x12 scrapbook paper down to 6x8 pages.
Score. With the sheet of paper in a landscape orientation, I scored the paper at 4 inches. I used a Scor-Pal, however you can easily just fold the page in half and use a bone folder.
Fold. Using a bone folder, fold each sheet in half. I use a teflon bone folder because it doesn't leave burnishing marks on the paper.


Stack. After you've folded each page, stack the pages. The edge will be uneven due to the thickness of the paper. This doesn't bother me, but if it bothers you ... the edge can be trimmed.
Mark. Make five marks spaced equally on the fold of the center page. Make the first mark at the center and then two more equally spaced on either side.
Pierce. Stack the pages and use a binder clip to hold them all in place. Using a piercing tool, pierce the five marks you've made. This is where the thread will be pulled to bind the album pages. Make sure to place a piercing mat under the paper so you don't damage your work surface.


Stitch.With the binder clip still in place and using a saddle stitch, stitch the pages together using 1mm wax thread and a needle. Make sure to use a needle large enough for the wax thread. I used one that is typically used to stitch leather, it came with the thread when I purchased it. I've shown a saddle stitch diagram below for reference.

Once it was complete I just decorated the cover!

Supplies: Henley Paper Pack | Henley Brushed Gold Sequins | Brooke Die Cut Shapes | Brooke Crepe Ruffle Trim

1 comment
This is sooooo precious!! I may have to give this a try!! Thanks for sharing